How to Create a Hydroponic Emergency Recovery Plan for Power Outages: Step‑by‑Step Guide to Protect Your System and Harvest
Introduction
Power interruptions can jeopardize the health of hydroponic crops, especially when oxygen levels, nutrient circulation, and temperature control are compromised. This guide explains how to design a resilient emergency recovery plan that maintains water quality, oxygenation, and plant vitality throughout an outage. Readers will learn practical steps, recommended tools, and best‑practice tips that enable continuous production even when the grid fails.
By following the procedures outlined herein, growers will reduce crop loss, avoid costly system damage, and preserve harvest schedules. The information is applicable to small‑scale hobbyists as well as commercial operators who require reliable contingency measures.
What You’ll Need
- Portable solar‑powered aeration device (e.g., Biling Solar Pond Aerator)
- Battery‑backed power bank capable of running pumps for at least 12 hours
- Manual water‑level monitoring tools (dip‑sticks, clear tubing)
- Insulated covers or blankets for temperature regulation
- Backup nutrient solution containers
- Basic hand tools (pliers, wrenches) for quick valve adjustments
Step‑by‑Step Instructions
1. Assess System Vulnerabilities
The first action is to identify which components of the hydroponic system depend on continuous electricity. Typical vulnerable elements include water pumps, air stones, lighting, and climate control devices. Create a checklist that records each device, its power rating, and the minimum runtime required to keep plants healthy for 24 hours.
Understanding these dependencies allows growers to prioritize backup resources. For example, oxygen depletion occurs faster than temperature rise, making aeration a top priority during outages.
2. Install a Solar‑Powered Aerator
Oxygenation is the most critical factor when power is lost because stagnant water quickly becomes hypoxic. The Biling Solar Pond Aerator provides continuous bubble generation using solar energy and an internal 2200 mAh battery. Its three operating modes—strong bubble, soft bubble, and 10‑second on/off—allow growers to match oxygen output with plant demand.
Why this product is useful: the aerator’s IPX5 waterproof rating ensures reliable operation in outdoor or greenhouse environments, while the glass‑covered solar panel maximizes energy conversion even on partially cloudy days. With a fully charged battery, the device can run up to 48 hours in the low‑energy 10‑second mode, giving growers ample time to restore grid power or switch to an alternative generator.
Installation steps:
- Place the aerator near the water surface where bubbles can disperse evenly.
- Orient the solar panel toward the sun; adjust angle seasonally for optimal exposure.
- Connect the air tubing to the aeration stone or diffuser already present in the system.
- Select the appropriate bubble mode based on plant density—strong bubble for dense foliage, soft bubble for seedlings.
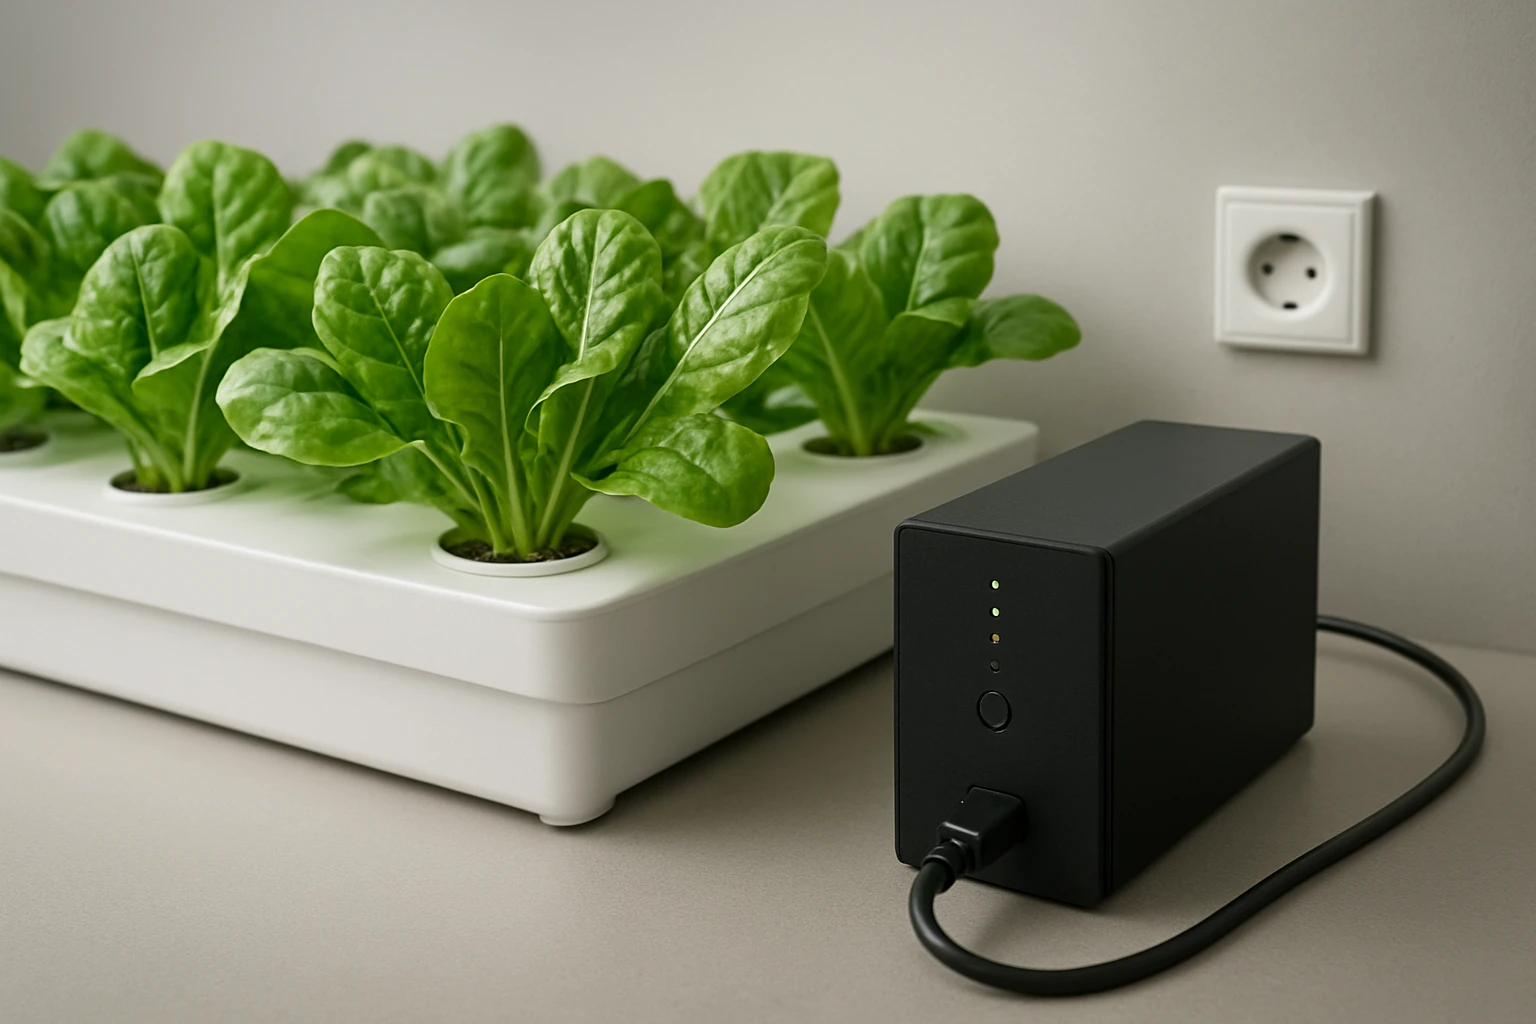
3. Prepare a Battery Backup for Pumps
While the solar aerator covers oxygen, water circulation must continue to prevent nutrient stratification. Use a deep‑cycle battery or a high‑capacity power bank rated for the pump’s wattage. Connect the pump to the battery via an inverter if the pump requires AC power.
Calculate the required amp‑hour capacity using the formula: (Pump Wattage ÷ Battery Voltage) × Desired Runtime (hours). For a 30‑W pump operating for 12 hours on a 12‑V battery, the requirement is 30 Wh ÷ 12 V × 12 h = 30 Ah.
Store the battery in a cool, dry location and test it monthly by running the pump for a short period. This routine ensures the backup will function when needed.
4. Implement Temperature Protection Measures
Power loss often disables heating or cooling systems, leading to temperature swings that stress plants. Insulate reservoirs and growing channels with thermal blankets or reflective bubble wrap. For colder climates, position a portable propane heater near the water container, ensuring proper ventilation.
Monitor temperature with a handheld digital thermometer and record readings every hour during an outage. If temperature deviates more than 3 °C from the optimal range, adjust insulation or add supplemental heat.
5. Secure Nutrient Supply
During an outage, pumps may stop, causing nutrient solution to become static. Prepare backup nutrient containers pre‑mixed to the correct EC (electrical conductivity) level. When power returns, quickly flush the system with the fresh solution to restore proper nutrient balance.
Label each backup container with concentration and expiration date to avoid confusion. Store them in a shaded area to prevent temperature‑induced degradation.
6. Create a Communication and Action Plan
Document the emergency procedures in a written SOP (Standard Operating Procedure) and share it with all staff members. Assign specific responsibilities, such as “person A monitors aerator performance,” “person B checks battery levels,” and “person C records temperature data.”
Include contact information for local electricians, generator rental services, and the product manufacturers. Having this information readily available reduces response time and minimizes panic during an actual outage.
Tips & Pro Tips
- Rotate Solar Aerator Position: Slightly moving the aerator each season ensures the solar panel receives maximum sunlight and prevents algae buildup on the panel surface.
- Use a Dual‑Mode Battery Charger: A charger that can accept both solar and AC input provides flexibility, allowing the backup battery to stay topped up during daylight even if the grid is down.
- Monitor Dissolved Oxygen (DO) Levels: A portable DO meter helps verify that the aerator is delivering sufficient oxygen; aim for at least 5 mg/L for most leafy greens.
- Seal All Electrical Connections: Use waterproof connectors and conduit to protect against accidental short‑circuits caused by rain or humidity.
- Test the Full System Quarterly: Simulate a power outage for a few hours to validate that all backup components operate as expected.
Troubleshooting
| Problem | Possible Cause | Solution |
|---|---|---|
| Aerator not producing bubbles | Solar panel obstructed or battery depleted | Clear debris from panel, place in direct sunlight, and charge battery using AC source. |
| Pump runs intermittently | Insufficient battery capacity or loose wiring | Verify connections, increase battery amp‑hour rating, or use a higher‑capacity power bank. |
| Water temperature drops rapidly | Inadequate insulation | Apply additional thermal blankets and consider a portable heater with a fuel source. |
Conclusion
Developing a comprehensive emergency recovery plan equips hydroponic growers to maintain oxygenation, circulation, temperature, and nutrient balance during power outages. By integrating a solar‑powered aerator such as the Biling Solar Pond Aerator, reliable battery backups, and clear procedural documentation, growers can safeguard their harvests and reduce financial risk.
Implement the steps outlined in this guide, test the system regularly, and adjust the plan as your operation evolves. Preparedness will ensure that even unexpected blackouts do not compromise the quality or quantity of the crops.
Products Mentioned in This Guide
Frequently Asked Questions
What is the most important step in a hydroponic emergency recovery plan for power outages?
Maintain oxygenation by using a solar‑powered aerator or battery‑backed pump to keep roots supplied with air.
How long should a backup power source last to protect a hydroponic system?
Aim for at least 12 hours of pump operation to cover typical outage durations and allow time for corrective actions.
Can a portable solar aerator replace a generator during a power failure?
Yes, a solar‑powered aerator can keep water circulating and oxygenated without fuel, making it a reliable backup for many setups.
What should I do with nutrient solution levels during an outage?
Monitor and manually adjust water levels, adding fresh solution if temperature rises and evaporation increases.
Are there specific tools recommended for manual monitoring during a blackout?
Use battery‑operated water‑level gauges, handheld pH/EC meters, and a timer‑controlled pump to ensure consistent system performance.