How to Dry, Cure, and Store Hydroponic Herbs: A Step‑by‑Step Guide to Preserve Flavor, Aroma & Shelf Life
Introduction
Hydroponic herbs offer fresh, potent flavors year round, yet their value diminishes quickly once harvested. This guide explains how to harvest, dry, cure, and store those herbs so that their essential oils, color, and aroma remain intact for months. Readers will learn practical techniques, discover common pitfalls, and see which tools can streamline each phase without sacrificing quality. By following these steps, one can transform a simple garden harvest into a reliable pantry of culinary and medicinal treasures.
What You'll Need
- Clean scissors or pruning shears
- Food‑grade gloves
- Well‑ventilated drying space
- Herb Drying Rack (4‑layer mesh net)
- Boveda 62% RH Humidity Packs (8‑10 pack)
- Homegrown Herbs Guide (reference book)
- Airtight glass jars or metal tins
- Silicone drying mat or parchment paper
Step 1: Harvest at the Optimal Time
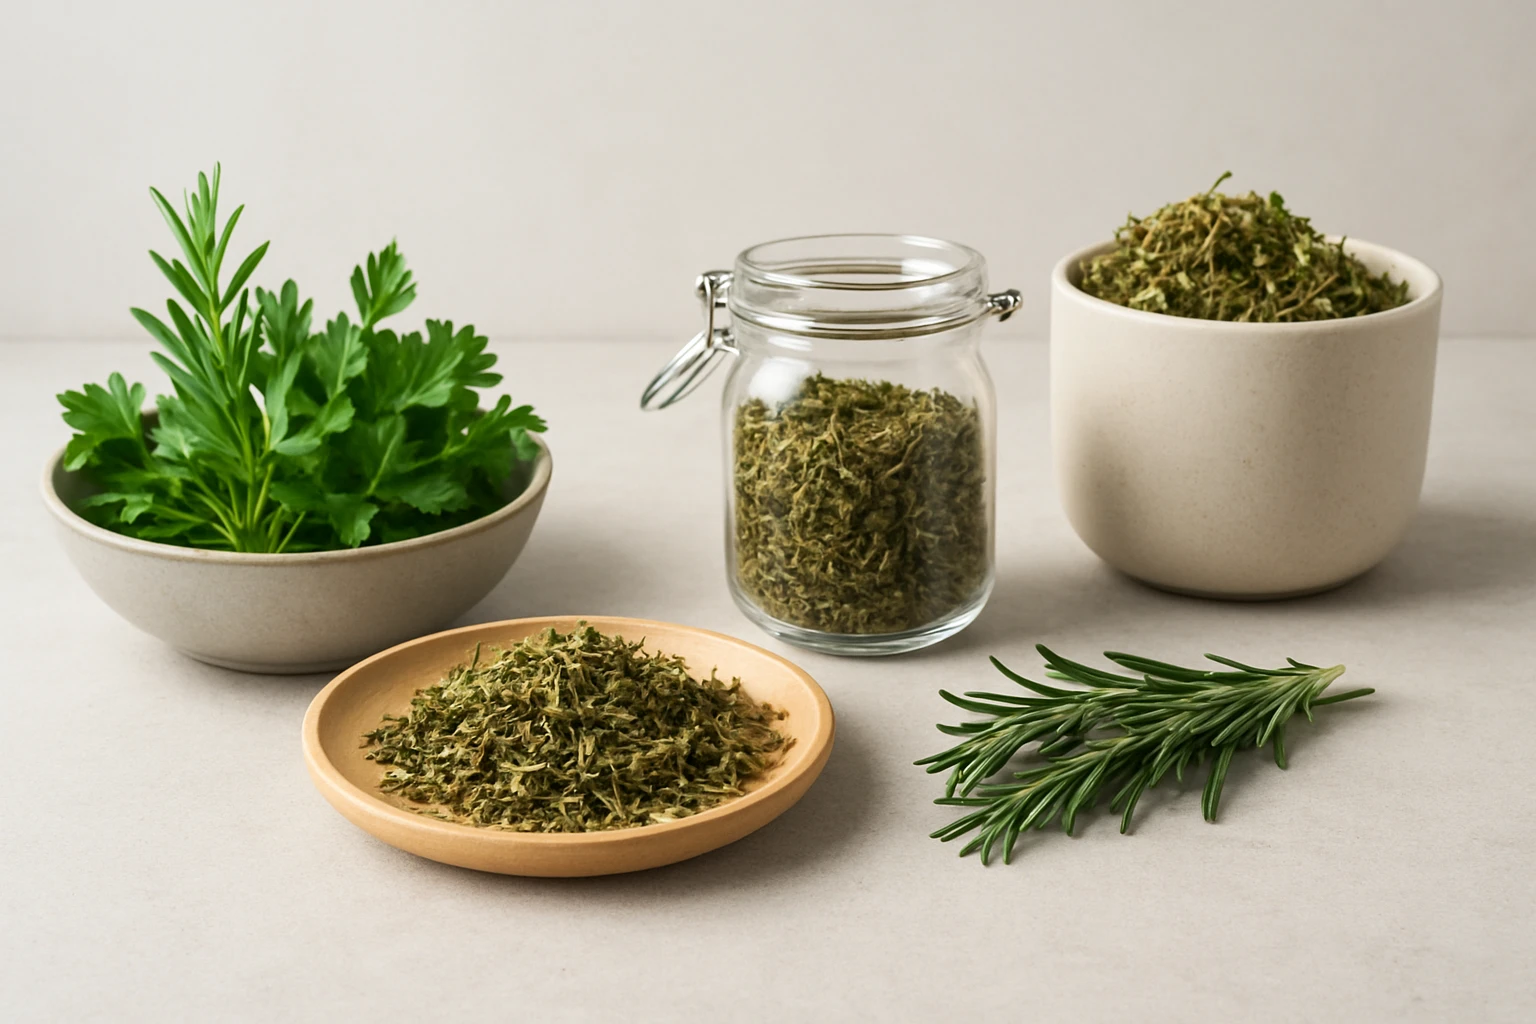
The first determinant of flavor is the moment the herb is cut. Harvest in the early morning after the dew has dried but before the sun intensifies, because essential oils are most concentrated at that time. Use clean scissors to snip stems just above a leaf node, leaving a short stub to encourage regrowth. Avoid bruising the foliage; handle each stem gently and place it in a breathable container to prevent premature wilting.
Step 2: Clean and Trim the Harvest
After harvesting, gently shake each stem to remove loose soil or debris that may have settled during growth. Rinse the herbs briefly under cool running water, then pat them dry with a clean kitchen towel or a silicone drying mat. Trim excess stems to a uniform length of about six inches, which facilitates even airflow during drying. Removing damaged or yellowed leaves at this stage prevents mold formation later in the process.
Step 3: Set Up the Herb Drying Rack
The Herb Drying Rack provides a structured, space‑saving solution for drying large quantities of hydroponic herbs. Its four‑tier polyester mesh and steel wireframe can support heavier loads without crushing delicate leaves, and the zippered chambers keep the material contained while allowing airflow on all sides. To assemble, unfold the rack, zip the chambers closed, and attach the hanging hook to a sturdy beam or the ceiling of a grow tent. Position the rack in a room with 40‑50% relative humidity and indirect sunlight; this environment mimics the natural conditions that preserve aroma while preventing mold.
Step 4: Dry the Herbs
Arrange the trimmed herbs evenly across each mesh tier, ensuring that no leaves overlap; overlapping creates pockets of moisture that can lead to fungal growth. Leave the rack undisturbed for 5‑7 days, checking daily for signs of dryness such as brittle stems and a faint, pleasant scent. If the ambient humidity is higher than 55%, consider using a dehumidifier or a small fan set on low to improve air circulation without drying the herbs too quickly. The goal is to reduce moisture content to approximately 10% before moving to the curing stage.
Step 5: Cure the Dried Herbs
Curing allows residual moisture to redistribute evenly, enhancing flavor complexity and preventing harsh, sharp notes. Transfer the dried herbs into airtight glass jars, filling each jar no more than three‑quarters full to allow a small amount of air exchange. Store the jars in a dark, cool cabinet at 65‑70°F for 1‑2 weeks, opening them once daily for the first week to release any remaining moisture and to “burp” the container. This gradual process mirrors the curing of tobacco and yields a smoother, more aromatic product.
Step 6: Store with Boveda 62% RH Humidity Packs
Long‑term storage demands a stable humidity environment to prevent both desiccation and mold. The Boveda 62% RH Humidity Packs are a two‑way humidity control solution that absorbs excess moisture when the environment is too wet and releases moisture when it becomes too dry, maintaining a consistent 62% relative humidity inside the jar. Place one pack per 1‑oz container, seal the jar, and store it away from direct light. Replace the packs every three months, or when they feel hard and crunchy, to ensure continuous protection. Compared with ordinary silica gel packets, Boveda packs provide precise regulation, which is essential for preserving the delicate terpenes that give hydroponic herbs their signature aroma.
Tips & Pro Tips
- Use a hygrometer to monitor ambient humidity; ideal drying conditions are 40‑55% RH.
- For herbs with larger leaves (e.g., basil), spread them on parchment paper for the first 24 hours before transferring to the rack to avoid tearing.
- Rotate the rack halfway through the drying period to ensure uniform airflow on all sides.
- Combine the Homegrown Herbs Guide with this process for species‑specific curing times and flavor notes.
- Label each jar with the herb name and harvest date; this practice simplifies inventory management and helps track potency over time.
Troubleshooting
Problem: Herbs feel moist after the drying period.
Solution: Increase airflow by adding a low‑speed fan or relocate the rack to a less humid room. Extend the drying time by two days and re‑check for brittleness.
Problem: Mold appears inside the storage jars.
Solution: Remove the affected herbs immediately, discard them, and ensure the jars are completely dry before resealing. Use fresh Boveda 62% RH Humidity Packs to stabilize humidity.
Problem: Aromas are weak after curing.
Solution: Verify that the initial drying did not exceed 120°F, as excessive heat destroys volatile oils. Consider extending the curing period by an additional week, checking the scent daily.
Conclusion
Drying, curing, and storing hydroponic herbs is a systematic process that safeguards flavor, aroma, and potency for months of culinary or medicinal use. By harvesting at the right time, employing the Herb Drying Rack, and stabilizing humidity with Boveda 62% RH Humidity Packs, one can achieve professional‑grade results at home. The techniques outlined here, complemented by the knowledge in the Homegrown Herbs Guide, empower growers to create a reliable supply of premium herbs. Apply these steps consistently, and the garden’s bounty will remain vibrant, aromatic, and ready for any recipe or remedy.
Products Mentioned in This Guide
Frequently Asked Questions
What is the best way to harvest hydroponic herbs for drying?
Use clean scissors, cut stems in the morning after the dew has dried, and handle with food‑grade gloves to avoid bruising.
How long should I dry hydroponic herbs before curing?
Dry until the leaves feel crisp and crumble easily, usually 1–2 days in a well‑ventilated space.
What role do Boveda 62% RH humidity packs play in curing herbs?
They keep humidity at about 62%, allowing herbs to finish curing without molding or overdrying.
How can I store dried hydroponic herbs to preserve flavor for months?
Put cured herbs in airtight containers with a Boveda pack and keep them in a cool, dark place away from sunlight.
What common mistakes should I avoid when drying hydroponic herbs?
Avoid direct sunlight, high humidity, and overcrowding the drying rack, which can cause uneven drying and loss of essential oils.