Introduction
Hydroponic herb growers often overlook the impact of regular pruning on overall productivity. By removing spent foliage and encouraging new growth, one can increase both flavor intensity and yield per square foot. This guide explains the science behind pruning, outlines a clear workflow, and recommends tools that streamline each stage. Readers will finish with a confident, repeatable process that maximizes harvest without compromising plant health.
What You’ll Need
- Sharp, ergonomic pruning scissors such as Fiskars Micro-Tip Pruning Scissors (price $12.89, rating 4.6/5)
- Alternative budget option: VIVOSUN Garden Pruning Shears (price $6.99, rating 4.6/5)
- Cleaning supplies – isopropyl alcohol, lint‑free cloths, and a small brush
- Protective gloves and a clean workspace
Step 1: Prepare Your Hydroponic System
Before any cutting occurs, ensure the nutrient solution is at the appropriate pH (5.5‑6.0) and temperature (68‑72°F). Shut off circulation for five minutes to reduce water turbulence that could dislodge delicate stems. Remove any debris or algae that may interfere with a clear view of the foliage. This preparation creates a stable environment where pruning stress is minimized.
Step 2: Identify Growth Zones
Examine each herb plant and locate three distinct zones: the crown, the active growth tip, and the older lower foliage. The crown houses the main root mass and should remain untouched to avoid shock. Active growth tips are the newest leaves that will benefit most from pinching back. Older lower foliage often shades newer shoots and should be trimmed to improve light penetration.
Step 3: Clean and Disinfect Your Tools
Using a lint‑free cloth soaked in isopropyl alcohol, wipe each blade of your scissors until no residue remains. Disinfection prevents the transfer of pathogens such as Pythium or Botrytis, which thrive in humid hydroponic environments. Allow the blades to air dry for thirty seconds before proceeding. Clean tools also maintain cutting precision, reducing ragged edges that can invite disease.
Step 4: Perform Precise Pruning
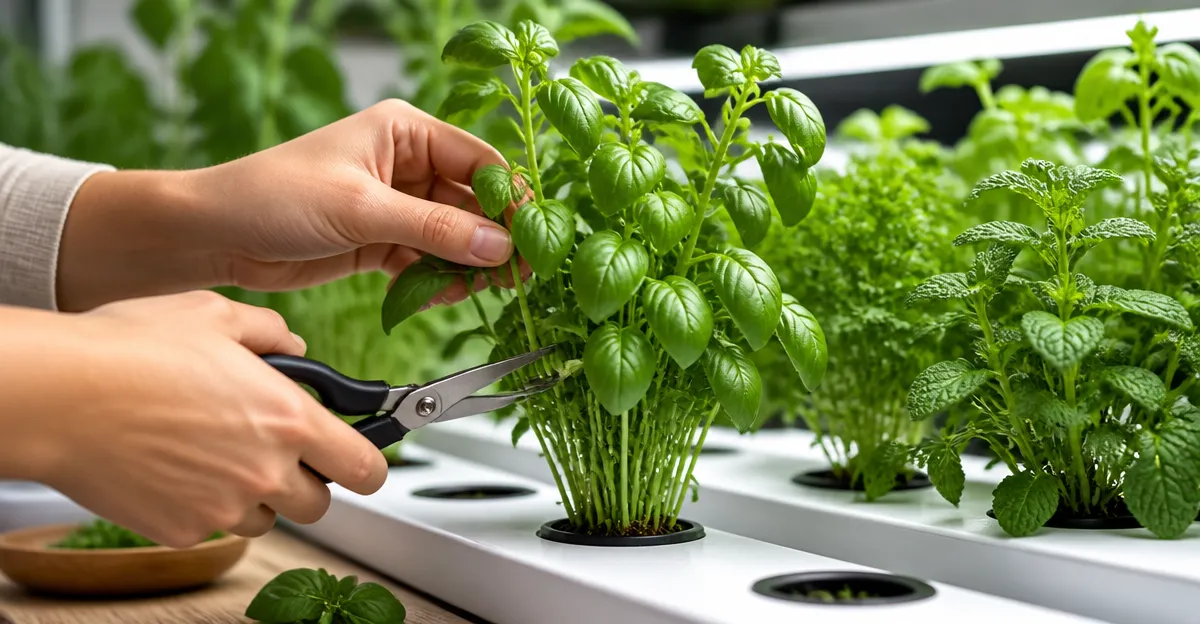
With the Fiskars Micro‑Tip Pruning Scissors, make a clean cut just above a leaf node on the active growth tip. The micro‑tip blades slice to the very tip, ensuring a smooth wound that heals quickly. For larger stems, the VIVOSUN Garden Pruning Shears provide extra leverage while still delivering a crisp edge. Remove no more than 20‑30% of foliage in a single session to avoid shocking the plant’s hormone balance.
Step 5: Post‑Pruning Care
Re‑activate the nutrient circulation and monitor the EC (electrical conductivity) for a slight rise, indicating increased uptake by fresh growth. Increase the light intensity by 10‑15% for 24‑48 hours to stimulate photosynthesis in the newly exposed stems. Apply a mild foliar spray of calcium‑enriched solution to reinforce cell walls during the healing period. Record the date, amount pruned, and any visual changes for future reference.
Step 6: Record and Adjust
Maintain a simple logbook or spreadsheet noting each pruning event, the tools used, and observed outcomes such as leaf size or aroma intensity. Over several growth cycles, patterns will emerge that indicate the optimal pruning frequency for each herb species. Adjust your schedule accordingly, aiming for a 2‑week interval for fast‑growing basil and a 4‑week interval for slower herbs like rosemary. Continuous refinement ensures that the pruning regimen remains aligned with plant genetics and environmental conditions.
Tips & Pro Tips
- Prune in the early morning when transpiration rates are lower, reducing the risk of excessive water loss.
- Use the non‑stick coating of Fiskars Non‑Stick Pruning Snips (price $14.99, rating 4.7/5) when working with resinous herbs like sage to prevent blade buildup.
- For herb harvesting, the Fiskars Herb Garden Scissors (price $10.97, rating 4.7/5) are dishwasher‑safe, allowing quick sanitation between batches.
- The Modern Sprout Pruning Shears (price $19.99, rating 4.8/5) feature a safety lock that is useful for households with children.
Troubleshooting
Problem: Leaves turn yellow after pruning.
Solution: Verify that the nutrient solution pH is within range and that no over‑pruning has occurred. Reduce the removal percentage and increase calcium supplementation.
Problem: Tools become sticky when cutting mint.
Solution: Switch to the non‑stick variant of Fiskars snips, which repels resin and maintains a clean cut surface.
Conclusion
Pruning hydroponic herbs is a science that blends plant physiology with precise tool use. By following the six steps outlined above, growers can enhance light distribution, stimulate vigorous new growth, and ultimately increase flavor‑rich yields. The recommended tools—each chosen for ergonomic design, blade sharpness, and durability—support consistent results while minimizing hand fatigue. Implement the logging system, adjust intervals, and enjoy a thriving, high‑output herb garden.
Products Mentioned in This Guide
Frequently Asked Questions
Why is regular pruning important for hydroponic herbs?
Pruning removes spent foliage, stimulates new growth, and boosts flavor intensity and yield per square foot.
What pH and temperature should the nutrient solution be before pruning?
Maintain a pH of 5.5‑6.0 and a temperature of 68‑72°F to keep plants stress‑free during cuts.
Which pruning tool offers the best balance of price and performance?
Fiskars Micro‑Tip Pruning Scissors provide ergonomic precision at $12.89, while VIVOSUN shears are a budget alternative at $6.99.
How often should I prune hydroponic herbs for optimal harvest?
Trim every 2‑3 weeks, or whenever leaves become yellowed or overly leggy, to encourage continuous growth.
What cleaning steps are needed for pruning tools after use?
Wipe blades with isopropyl alcohol and a lint‑free cloth, then dry and store in a clean, dry place.