How to Build a Solar Backup Power System for Indoor Hydroponics: Step-by-Step DIY Guide
Introduction
Indoor hydroponic growers rely on a steady supply of electricity to keep pumps, lights, and climate controls operating without interruption. A solar backup power system provides resilience during grid outages, reduces operating costs, and aligns the operation with sustainable practices. This guide will walk the reader through planning, selecting components, wiring, and testing a solar backup system that can sustain a medium‑size hydroponic setup for several hours. By the end of the guide, the reader will understand how to size batteries, integrate solar panels, and automate the transition between grid and backup power.
The instructions are written for an intermediate audience familiar with basic electrical concepts but new to renewable‑energy installations. All recommendations are based on real Amazon products, yet the system can be assembled with equivalent components if the reader prefers alternative brands.
What You'll Need
- Portable solar generator or power station (e.g., Jackery Solar Generator 1000 v2)
- High‑capacity portable power station for larger loads (e.g., Anker SOLIX C2000)
- Solar‑compatible power bank for small sensors and controllers (e.g., SOARAISE 48000mAh Solar Power Bank)
- Foldable 200W solar panel (included with Jackery generator) or additional panels for higher output
- DC to AC inverter (if the power station does not provide pure sine wave output for sensitive equipment)
- Battery management system (BMS) cables, MC4 connectors, and a small mounting rack for panels
- Electrical conduit, wire nuts, and a multimeter for safety checks
- Optional: Smart controller app on a smartphone to monitor charge status
Step 1: Assess Power Requirements
The first step is to calculate the total wattage of all hydroponic components that must remain operational during an outage. Typical loads include LED grow lights (300‑600 W), water pump (50‑100 W), air pump (30‑50 W), and a climate controller (10‑20 W). Add a safety margin of 20 percent to accommodate start‑up surges.
Example calculation for a 2‑panel system:
- Grow lights: 500 W
- Water pump: 80 W
- Air pump: 40 W
- Controller: 15 W
- Total steady‑state load: 635 W
- Safety margin (20 %): +127 W
- Required backup capacity: ≈762 W
To sustain this load for four hours, the energy requirement is 762 W × 4 h ≈ 3,048 Wh. The battery bank must therefore provide at least 3,100 Wh to account for conversion losses.
Step 2: Choose the Primary Solar Generator
For a compact yet powerful solution, the Jackery Solar Generator 1000 v2 is an excellent choice. It offers a 1,070 Wh LiFePO4 battery, 1,500 W continuous AC output, and a 3,000 W surge capacity. The included 200 W solar panel can replenish the battery at a rate of 80 % in six hours, which is sufficient for daily recharging when sunlight is abundant.
Key specifications:
- Capacity: 1,070 Wh (provides roughly 1.5 hours of operation at 635 W)
- Fast one‑hour emergency charge via the Jackery app
- 10‑year lifespan with over 4,000 charge cycles
- Multiple output ports (USB‑C, USB‑A, DC car, AC)
- Price: $599.99, Rating: 4.6/5 (1,267 reviews)
Why it is useful for hydroponics: the pure sine wave AC output protects sensitive LED drivers, and the built‑in app allows remote monitoring of charge status, which is critical when the grow room is not constantly attended.
Step 3: Add a High‑Capacity Backup for Extended Runtime
If the grow operation must run longer than the Jackery’s 1,070 Wh can support, supplement it with the Anker SOLIX C2000. This unit delivers 2,048 Wh of LiFePO4 capacity, a 2,400 W rated output, and a 4,000 W peak, making it capable of handling the entire load for up to three hours on its own.
- Capacity: 2,048 Wh (adds ~3 hours of runtime at 635 W)
- Fast 58‑minute full charge via AC or solar
- Expandable to 4 kWh with an optional battery module
- Lightweight design (41.7 lb) for easy placement
- Price: $799.99, Rating: 4.8/5 (361 reviews)
Why it is useful: the high‑power inverter can handle the simultaneous start‑up of multiple pumps and lights, while the rapid recharge capability ensures the system is ready for the next outage within an hour.
Step 4: Integrate a Small Solar Power Bank for Sensors and Controllers
Hydroponic setups often include temperature, pH, and EC sensors that require low‑power USB charging. The SOARAISE 48000mAh Solar Power Bank provides a convenient way to keep these devices powered without draining the main battery bank.
- Capacity: 48,000 mAh (≈ 185 Wh)
- Four built‑in cables and wireless charging pad for smartphones
- Three output ports (2 × USB‑A, 1 × USB‑C) for sensor hubs
- Price: $45.59, Rating: 4.3/5 (2,287 reviews)
Why it is useful: the power bank can be placed near the controller rack, providing uninterrupted power to data loggers and Wi‑Fi modules even when the main inverter is offline.
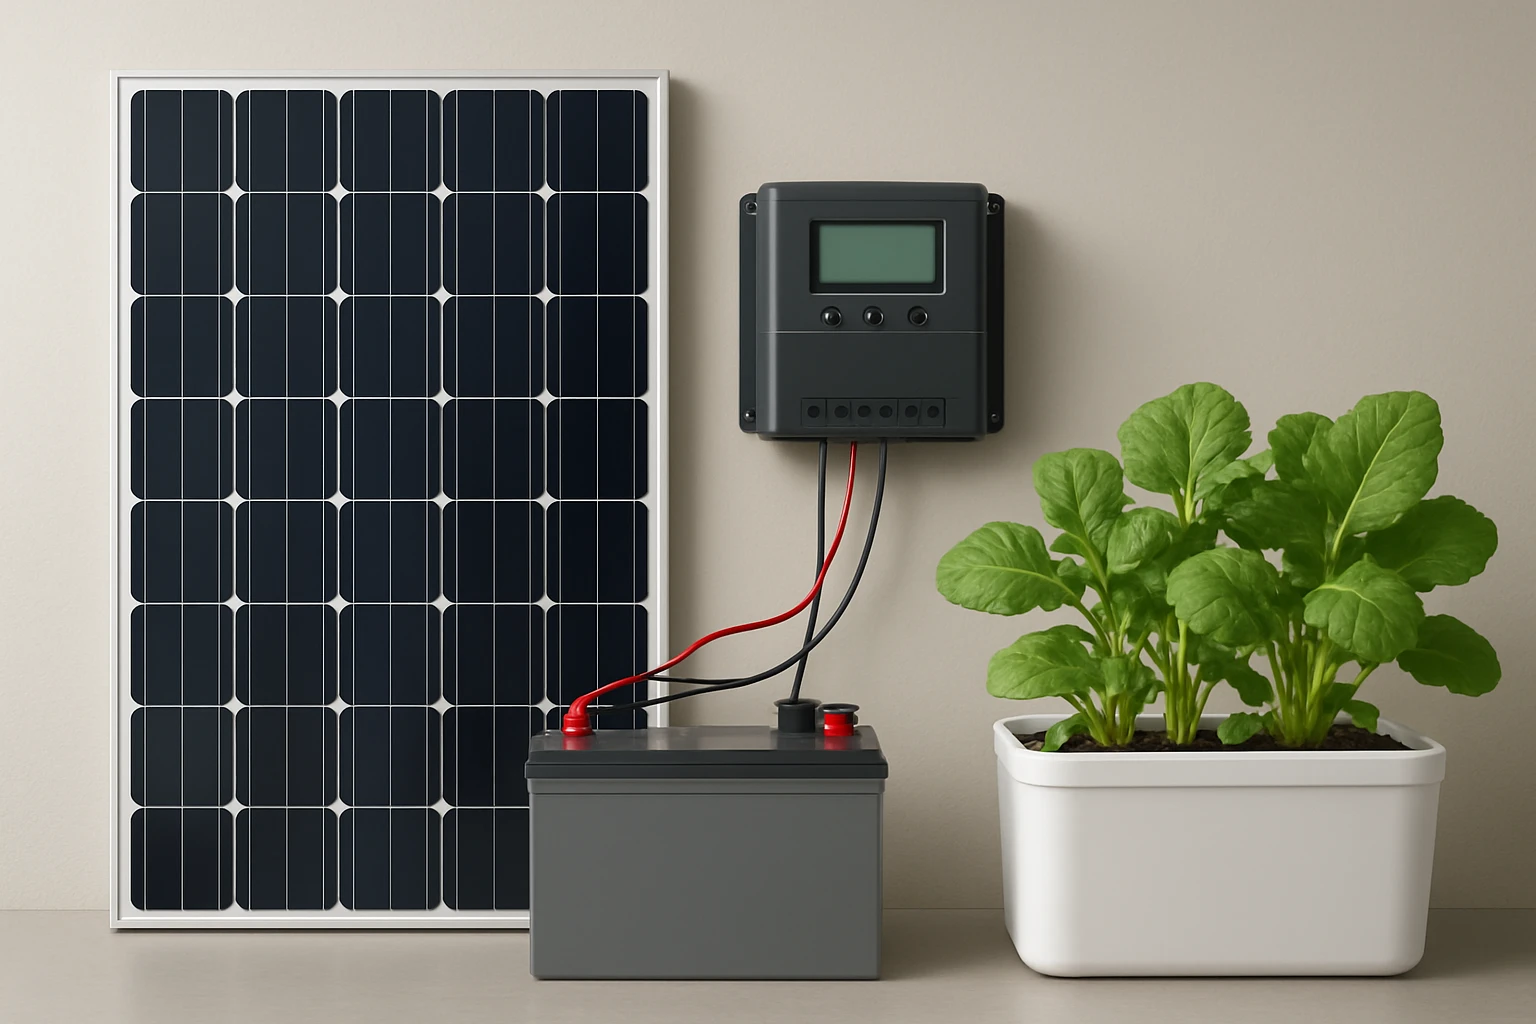
Step 5: Wire the System Together
Begin by positioning the solar panels on a south‑facing roof or a portable stand. Connect the panels to the Jackery generator using the MC4 connectors supplied with the panel. Then, link the Jackery’s AC output to the inlet of the Anker SOLIX C2000 using a heavy‑gauge extension cord; this creates a parallel battery configuration where the Anker unit serves as the primary reserve.
Next, plug the SOARAISE power bank into a USB‑C port on the Jackery. Ensure all grounds are common to avoid potential floating‑ground issues that could damage sensitive electronics. Use a multimeter to verify that the voltage at each outlet matches the expected values (120 V AC for lights, 5 V DC for sensors).
Finally, configure the Jackery app to enable automatic switch‑over: set the “Energy Efficiency Mode” to trigger when grid power is lost, allowing the generator to supply power instantly. Test the system by unplugging the mains supply and confirming that all devices remain operational for at least five minutes.
Tips & Pro Tips
- Mount solar panels at a 30‑degree angle during summer and adjust to 45‑degree in winter for optimal irradiance.
- Use a dedicated circuit breaker for the inverter to protect against overloads.
- Label all cables and connectors; color‑code positive, negative, and ground wires for quick troubleshooting.
- Consider adding a small wind turbine if the grow location experiences consistent breezes; it can supplement solar generation on cloudy days.
- Schedule a weekly check of battery health via the app; LiFePO4 cells maintain capacity longer but still benefit from balanced charging cycles.
Troubleshooting
Problem: Inverter shuts down after a few minutes.
Solution: Verify that the total load does not exceed the continuous rating of the power station (1,500 W for Jackery, 2,400 W for Anker). Reduce LED intensity or stagger pump operation using a timer.
Problem: Solar panels not charging the battery.
Solution: Ensure the Jackery app is set to “Solar Charge Mode” and that the panel’s connectors are clean and securely attached. Check that the panel orientation receives direct sunlight.
Problem: Sensors lose power during a prolonged outage.
Solution: Connect the SOARAISE power bank directly to the sensor hub’s USB‑C port and enable its built‑in fast‑charge mode to prioritize low‑power devices.
Conclusion
By following this guide, the reader can construct a reliable solar backup power system that safeguards indoor hydroponic operations against grid interruptions. The combination of the Jackery Solar Generator 1000 v2, the Anker SOLIX C2000, and the SOARAISE 48000mAh Solar Power Bank offers a scalable solution that balances portability, capacity, and cost. With proper sizing, wiring, and routine maintenance, growers can enjoy uninterrupted harvests while reducing their carbon footprint.
Products Mentioned in This Guide
Frequently Asked Questions
What size battery bank is needed to power a medium‑size indoor hydroponic system during an outage?
Calculate total daily watt‑hours of pumps, lights, and climate control, then choose a battery bank with at least 1.5‑2× that capacity to allow for depth‑of‑discharge limits.
Can I use a portable solar generator instead of separate panels and batteries?
Yes, a portable solar generator combines panels, battery, and inverter in one unit, simplifying installation for small to medium setups.
How do I automatically switch between grid power and solar backup?
Install an automatic transfer switch (ATS) that detects grid loss and routes load to the solar inverter without manual intervention.
What type of solar panels provide the best efficiency for indoor hydroponic backup systems?
Monocrystalline panels offer the highest efficiency per square foot, making them ideal when roof or space is limited.
Is it safe to connect hydroponic pumps and LED grow lights directly to a solar inverter?
Only if the inverter’s continuous and surge ratings exceed the combined load of the pumps and lights, and proper wiring and grounding are used.