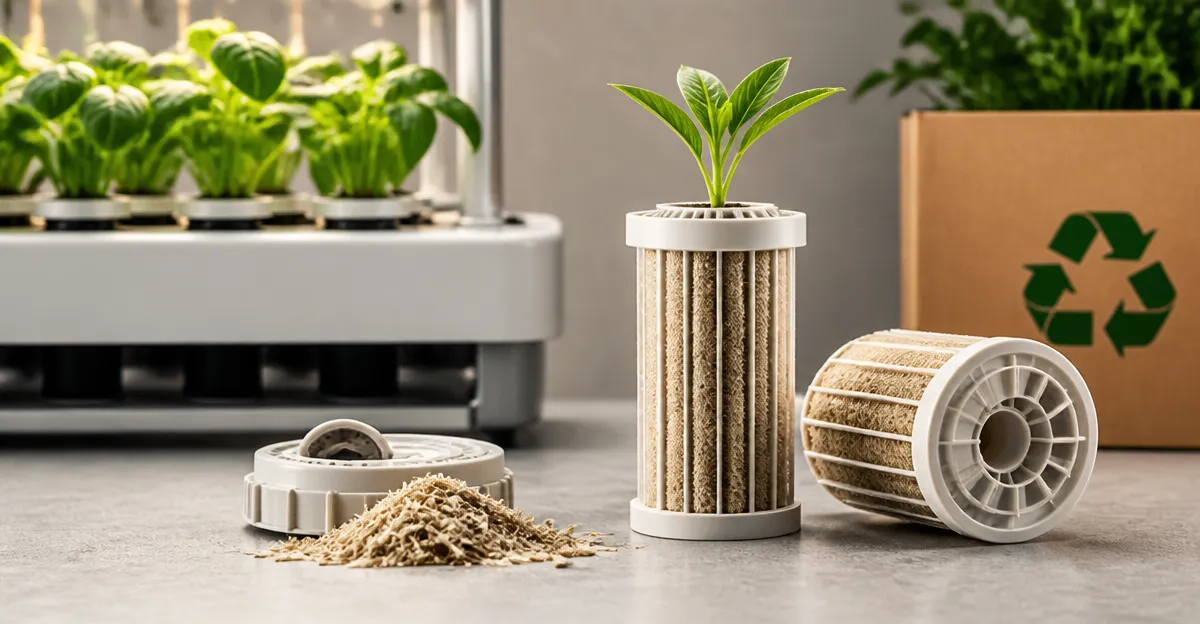
How to Build Recyclable Aeroponic Cartridges: Step-by-Step DIY Designs for Sustainable, Reusable Aeroponics
Introduction
The modern gardener seeks methods that conserve water, reduce waste, and deliver rapid plant growth. Aeroponics satisfies these goals by misting nutrient‑rich droplets directly onto plant roots, eliminating soil and minimizing water usage. This guide teaches the reader how to construct recyclable aeroponic cartridges that can be reused for years, thereby lowering environmental impact and operating costs. By the end of the article, the reader will possess a complete, functional cartridge system and an understanding of how to maintain it efficiently.
What You’ll Need
The following materials and tools are recommended for a successful build. Recyclable containers such as PET bottles, acrylic sheets, and silicone tubing form the structural base. A reliable water pump, LED lighting, and a smart controller are essential for mist generation, illumination, and automation. The table below lists optional commercial products that simplify each stage; the guide remains viable without them.
- Recyclable plastic or acrylic containers
- Silicone tubing (1/4‑inch inner diameter)
- Stainless‑steel or food‑grade mesh for plant support
- Water pump capable of 20‑30 L/h flow
- Full‑spectrum LED grow light with adjustable spectrum
- Microcontroller or smartphone app for timing and monitoring
- Sealant, drill, and basic hand tools
Step 1: Design the Cartridge Housing
Begin by sketching a cylindrical or rectangular housing that will accommodate the root zone, mist nozzle, and nutrient reservoir. Aim for a volume of 1‑2 liters to keep the system compact while providing sufficient water for several days of operation. Use a PET bottle with the neck removed as a prototype; the bottle’s transparent walls allow visual monitoring of water level and root development. Ensure that the design includes a removable lid for easy cleaning and a port for the pump inlet.
Step 2: Prepare Recyclable Materials
Cut the chosen container to the desired height using a fine‑toothed saw, then smooth the edges with sandpaper to avoid damage to tubing. Drill two holes near the top: one for the mist nozzle outlet and another for the water inlet. Insert silicone tubing through the inlet hole, securing it with a waterproof sealant to prevent leaks. The outlet tube will connect to a misting nozzle that distributes droplets uniformly across the root chamber.
Step 3: Assemble the Mist Delivery System
For reliable mist generation, integrate a low‑noise pump and a precision nozzle. The DRYADES 12‑Pod Hydroponic Herb Garden includes a self‑circulating pump that operates below 20 dB, reducing acoustic disturbance in indoor environments. Its built‑in water level gauge ensures the reservoir never runs dry, which is crucial for maintaining consistent mist pressure. Priced at $41.99 with a rating of 4.4/5 from 130 reviews, this system provides an affordable, energy‑saving solution for small‑scale cartridges. Connect the pump’s outlet to the mist nozzle, then route the return line back to the reservoir, creating a closed‑loop circulation.
Step 4: Install LED Lighting
Plants grown aeroponically require precise light spectra to support vegetative growth and flowering. The VIVOSUN VGrow Smart Grow Box features a Samsung LM301H EVO full‑spectrum LED that delivers both blue and red wavelengths, mimicking natural sunlight. Its adjustable height (up to 14.8 inches) and programmable 16‑hour on/8‑hour off cycle align perfectly with the misting schedule, promoting uniform growth. At $599.99 and rated 4/5 by 178 reviewers, this premium unit offers smartphone control, energy consumption of approximately $3.60 per month, and a sleek faux‑leather exterior that blends with modern interiors. Mount the LED panel above the cartridge, ensuring a distance of 6‑8 inches to avoid heat stress while delivering adequate photon flux.
Step 5: Add Smart Controls and Monitoring
Automation enhances consistency and reduces the need for manual adjustments. The LETPOT 12‑Pod WiFi Smart Hydroponic Garden provides a dedicated app that allows users to set misting intervals, adjust LED schedules, and receive water‑level reminders. Its 0‑24 hour lighting timer and dual‑mode LED (blue for vegetative, red for flowering) give precise control over the growth cycle. Priced at $119.99 with a 4.5/5 rating from 1,731 reviews, this system also includes a 5.5‑liter water tank capable of three weeks of autonomous operation. Pair the app with your cartridge’s pump and LED via a simple Wi‑Fi bridge, then configure mist cycles of 30 seconds on every 5 minutes for optimal root oxygenation.
Step 6: Optimize Space with a Vertical Tower Layout
If multiple cartridges are desired, arranging them in a vertical tower maximizes floor space while maintaining individual control. The GARDYN Studio 2 16‑Plant Hydroponic Tower showcases a compact, space‑saving design that houses up to 16 plants within a single footprint. Its sealed silicone columns prevent mineral buildup, and an integrated AI camera monitors plant health in real time. Though priced at $549.00 with a 4.5/5 rating from 146 reviews, the tower’s modular columns can be repurposed as cartridge housings, providing a sturdy framework for the DIY units built earlier. Attach each cartridge to a column using the provided mounting brackets, then connect them to a shared water reservoir and LED array for synchronized operation.
Tips & Pro Tips
- Use food‑grade silicone tubing to avoid contaminating the nutrient solution.
- Maintain a nutrient concentration of 1.2‑1.5 mS/cm for most leafy greens; adjust based on plant species.
- Periodically flush the system with clean water to prevent salt buildup.
- For faster growth, increase mist pulse frequency during the vegetative stage, then reduce it during flowering to encourage root expansion.
- Consider adding a pH sensor to the reservoir; optimal pH for aeroponics is 5.8‑6.2.
Troubleshooting
No Mist Output: Verify that the pump is primed and that air bubbles are not trapped in the tubing. Check the nozzle for clogs and clean with a soft brush.
Leaf Yellowing: This often indicates nutrient deficiency or pH imbalance. Test the solution and adjust with appropriate additives.
Excessive Heat: Ensure the LED is positioned at the recommended distance and consider adding a small fan to improve air circulation around the cartridge.
Conclusion
By following these steps, the reader can construct recyclable aeroponic cartridges that deliver rapid, water‑efficient growth while minimizing waste. The integration of smart pumps, adjustable LED lighting, and Wi‑Fi monitoring transforms a simple DIY project into a sophisticated, automated system. Sustainable indoor gardening becomes accessible to hobbyists and professionals alike, encouraging broader adoption of aeroponic technology. Continue experimenting with cartridge shapes, nutrient formulas, and lighting cycles to refine performance and achieve optimal yields.
Products Mentioned in This Guide
Frequently Asked Questions
What materials can be used to make a recyclable aeroponic cartridge?
You can repurpose PET bottles, acrylic sheets, or other recyclable plastics combined with silicone tubing for the structure.
How does an aeroponic system conserve water compared to traditional gardening?
It mist‑sprays nutrient solution directly onto roots, using up to 90% less water than soil‑based methods.
Do I need a commercial pump and controller, or can I use DIY alternatives?
A reliable water pump and smart controller are recommended for consistent misting, but homemade pump setups can work if they provide steady pressure.
How often should the cartridge be cleaned to maintain plant health?
Clean the cartridge and tubing every 2–4 weeks to prevent clogging and biofilm buildup.
Can the aeroponic cartridges be reused indefinitely?
Yes, with proper cleaning and occasional part replacement, the cartridges can be reused for years, reducing waste and cost.