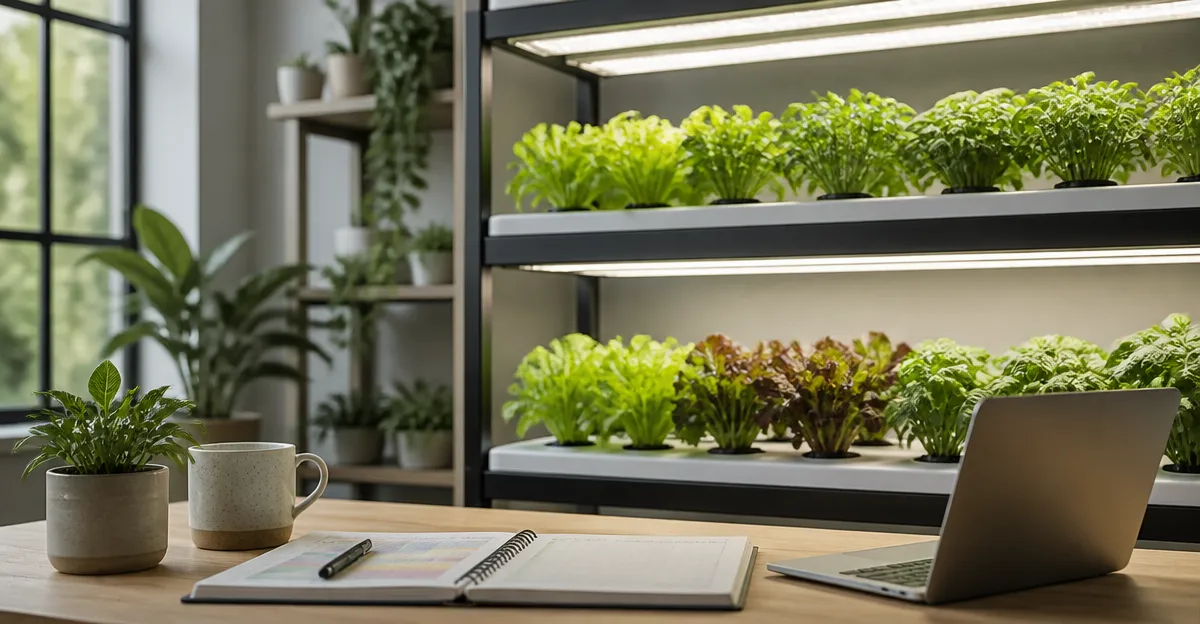
How to Design Seasonal Light Recipes for Indoor Hydroponics: Step-by-Step LED Spectrum & Photoperiod Guide
Introduction
Indoor hydroponic growers must replicate the natural progression of sunlight in order to achieve optimal plant health throughout the year. This guide explains how to create seasonal light recipes that balance spectral composition and photoperiod, allowing growers to transition smoothly from vegetative growth to flowering and back again. Readers will learn how to select appropriate LED fixtures, program timers, and monitor plant responses, resulting in higher yields and reduced energy waste.
The information presented is actionable for growers who already have a basic understanding of hydroponic systems. By following each step, one can design a lighting schedule that matches the physiological needs of lettuce, basil, tomatoes, or any other commonly cultivated species. The guide also integrates affordable, highly rated Amazon products that simplify installation and programming.
What You’ll Need
- LED grow lights suitable for the size of the grow area (see product recommendations below).
- Adjustable timer or built‑in timer function on the lights.
- Power source with USB or AC plug, depending on the fixture.
- Mounting hardware such as clamps, magnetic strips, or aluminum brackets.
- Measuring tape, light meter (optional), and a notebook for recording observations.
Below are the recommended lighting tools that satisfy the above requirements while offering excellent value and user reviews.
Step 1 – Determine the Growth Stage and Seasonal Goal
The first step is to identify the current developmental phase of the crops. Vegetative stages require a higher proportion of blue light (approximately 400–500 nm) to encourage compact foliage, while flowering stages benefit from increased red light (around 660 nm) to stimulate bud formation. Seasonal goals dictate how long each phase will last; a typical summer cycle may allocate 16 hours of light for vegetative growth and 12 hours for flowering.
Record the target photoperiod and spectral balance in a simple table. This documentation will guide the selection of fixtures in the next step.
Step 2 – Choose the Appropriate Spectrum
LED technology allows growers to fine‑tune the light spectrum. For a mixed‑spectrum approach, a combination of white (full‑spectrum) LEDs and supplemental red LEDs provides the most natural sunlight mimicry.
For small tabletop setups or seedling trays, the GooingTop Clip Grow Light (price $19.30, rating 4.5/5 from 22,056 reviews) offers 6000 K white light plus 10 red LEDs, an adjustable timer, and a flexible gooseneck. Its low power draw (10 W) and clamp design make it ideal for positioning directly over individual pots.
For larger grow benches, the Barrina 4FT Grow Lights 6‑Pack (price $89.99, rating 4.7/5 from 1,424 reviews) provides 5000 K full‑spectrum white light with a total output equivalent to 1400 W traditional bulbs. The V‑shaped reflector increases light intensity by up to 20 %, and the included connectors allow daisy‑chaining for uniform coverage.
When modular flexibility is required, the Barrina T5 1FT Grow Lights 4‑Pack (price $27.19, rating 4.6/5 from 6,961 reviews) delivers 5000 K white light in a compact form factor. Each unit can be switched on or off independently, enabling growers to target specific shelves or zones.
If a clip‑on solution with both white and red spectra is preferred, consider the RWNTAO Clip Grow Light 2‑Pack (price $21.99, rating 4.6/5 from 714 reviews). It includes 5 red and 37 white LEDs per bar, three timer settings, and ten dimmable levels, allowing precise control over the red‑to‑white ratio during different seasonal phases.
Step 3 – Define the Photoperiod and Program Timers
Once the spectrum is selected, set the daily light exposure. Most leafy greens thrive under 16 hours of light and 8 hours of darkness, whereas fruiting crops such as tomatoes benefit from 12 hours of light during flowering. Use the built‑in timer functions of the selected fixtures or an external programmable timer.
The GooingTop Clip Grow Light includes an auto‑timer with 4, 8, or 12‑hour options, making it straightforward to switch between vegetative and flowering schedules without additional hardware. The RWNTAO Clip Grow Light also offers three preset cycles (3/9/12 hours) and memory retention, which is useful for growers who travel frequently.
For the Barrina 4FT system, external timers such as the Nearpow digital timer (available separately) can be used to achieve more complex cycles, for example 18 hours on during early spring and 14 hours on during late autumn. Record the timer settings alongside the growth stage table created in Step 1.
Step 4 – Install the Lighting Fixtures Securely
Mount the lights at a height that provides even coverage without causing heat stress. A distance of 12‑18 inches from the canopy is typical for 6000 K white LEDs, while higher‑intensity T5 strips may require 6‑12 inches.
Use the strong clamp on the GooingTop Clip Grow Light or the RWNTAO Clip Grow Light to attach the fixture to the rim of a pot, a shelf edge, or a metal frame. The flexible gooseneck permits precise angling, ensuring that each leaf receives direct illumination.
For the Barrina 4FT lights, the included installation clips, tape, and cable ties enable a quick mount on aluminum frames or PVC pipes. The V‑shaped reflector should face upward to maximize light distribution across the growing tray.
The Barrina T5 1FT lights feature magnetic bars and double‑sided tape, allowing attachment to metal shelving or the underside of cabinets. This method keeps the lights out of the way while maintaining a short light path.
Step 5 – Calibrate Light Intensity and Verify Coverage
After installation, measure the photosynthetic photon flux density (PPFD) at canopy level using a handheld meter, if available. Target values range from 150‑300 µmol·m⁻²·s⁻¹ for seedlings, 400‑600 µmol·m⁻²·s⁻¹ for vegetative growth, and 600‑900 µmol·m⁻²·s⁻¹ for flowering.
If the measured intensity falls short, adjust the height of the fixtures or increase the number of active units. The dimmable levels on the RWNTAO Clip Grow Light make fine‑tuning simple; lower the brightness during early seedling stages to avoid photoinhibition.
For large‑area installations, add additional Barrina 4FT strips in series to raise overall PPFD without exceeding the power budget. The total consumption of the 6‑pack is 252 W, equivalent to roughly $0.25 per day, which is economical for most indoor growers.
Tips & Pro Tips
- Rotate crops weekly to ensure uniform light exposure across the entire grow area.
- Combine white and red LEDs during the flowering stage to enhance fruit set while maintaining leaf vigor.
- Use reflective Mylar panels on the walls of the grow tent to recycle stray photons and improve overall efficiency.
- Schedule a brief 1‑hour dark period during the middle of the photoperiod for certain species that exhibit a “night break” response.
- Keep the LED fixtures clean; dust accumulation reduces light output by up to 15 %.
Troubleshooting
| Problem | Possible Cause | Solution |
|---|---|---|
| Leggy seedlings | Insufficient blue light or excessive distance | Move white‑dominant fixtures closer or add a blue‑rich LED strip such as the GooingTop Clip Grow Light. |
| Leaf scorch | Too high intensity or overheating | Raise the fixture height by 2‑3 inches and verify ventilation. |
| Uneven growth | Shadowing from nearby objects | Re‑position clamps or add additional Barrina T5 units to fill gaps. |
Conclusion
Designing seasonal light recipes for indoor hydroponics requires careful alignment of spectral composition, photoperiod, and fixture placement. By following the five steps outlined above, growers can create a dynamic lighting environment that mimics natural seasons, promotes robust vegetative growth, and maximizes fruiting yields. The recommended products provide reliable, energy‑efficient solutions that integrate seamlessly with most hydroponic setups, yet the principles remain applicable even when using alternative lighting hardware.
Implement the guide, monitor plant responses, and adjust the recipe as needed to achieve consistent, high‑quality harvests throughout the year.
Products Mentioned in This Guide
Frequently Asked Questions
What is a seasonal light recipe in indoor hydroponics?
It is a scheduled combination of light spectrum and photoperiod that mimics natural seasonal changes to support vegetative growth, flowering, and rest phases.
How do I choose the right LED spectrum for each growth stage?
Select LEDs with higher blue output (400‑500 nm) for vegetative stages and increase red/far‑red (620‑730 nm) intensity during flowering, adjusting ratios as plants mature.
What photoperiod lengths are recommended for lettuce versus tomatoes?
Lettuce thrives on 12‑14 hours of light daily, while tomatoes benefit from 16‑18 hours during vegetative growth and 12‑14 hours when flowering.
Can I automate seasonal light changes with a timer?
Yes, use an adjustable or programmable timer to shift spectrum ratios and photoperiod dates, allowing smooth transitions without manual intervention.
How can I monitor plant response to a new light recipe?
Track leaf color, growth rate, and flowering timing, and use a light meter or sensor to verify that PPFD and spectrum match the intended recipe.