How to Use Acoustic Root Zone Diagnostics in Hydroponics: Step-by-Step Guide
Introduction
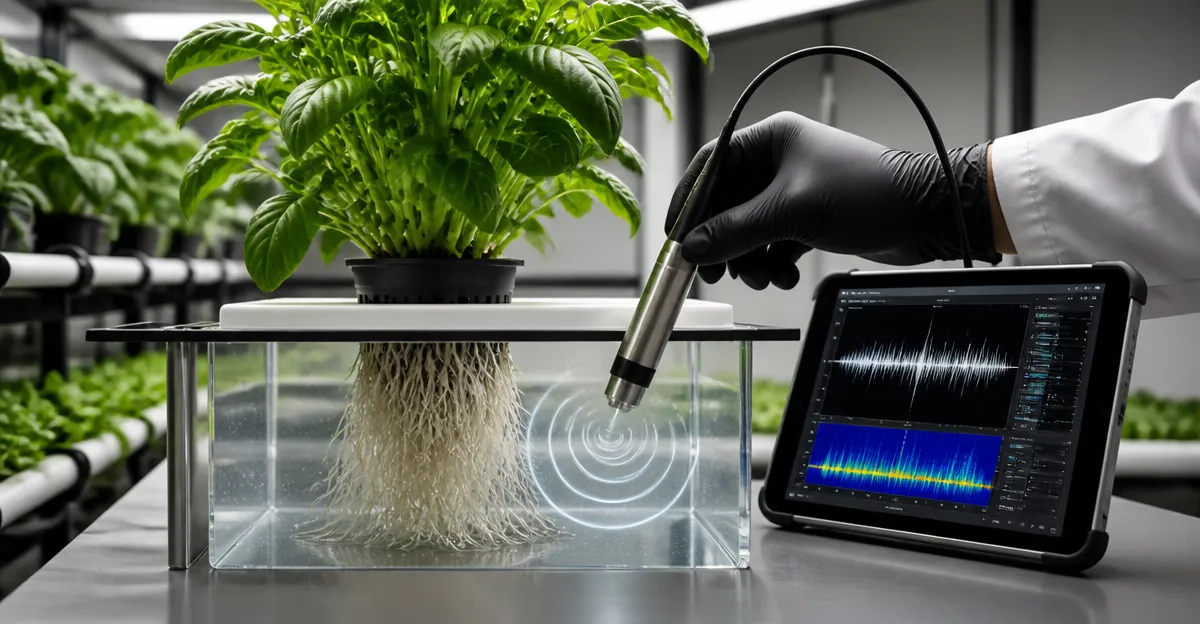
In this guide the reader will discover how acoustic sensing can reveal root zone conditions that are otherwise invisible. The method combines sound‑based diagnostics with traditional electrical conductivity (EC), pH, temperature, and light measurements. By following the steps one can achieve faster detection of nutrient deficiencies, water stress, and disease onset. The result is a more resilient hydroponic system and higher yields.
What You'll Need
- LetPot EC & Temp Meter – $56.99, rating 4.8/5 (25 reviews)
- Mars Hydro Sensor Kit – $79.99, rating 4.4/5 (91 reviews)
- EZTOCH 7-in-1 pH Monitor – $69.99, rating 4.2/5 (35 reviews)
- Bluelab Pulse Soil Meter – $309.99, rating 4/5 (98 reviews)
- AC Infinity Soil Sensor Probe – $21.99, rating 4/5 (115 reviews)
Step 1: Install Acoustic Sensors
Acoustic sensors are placed at the base of the nutrient reservoir to capture vibrations generated by root activity. Position the transducer so that it is submerged but not in direct contact with the pump inlet to avoid mechanical noise. Connect the sensor to a data logger that supports real‑time streaming; many growers pair the logger with a smartphone app for immediate alerts. Verify that the sensor is calibrated according to the manufacturer's instructions before proceeding.
Why this step matters: acoustic signatures change when roots encounter oxygen deficiency or pathogen attack, providing an early warning that chemical sensors cannot deliver.
Step 2: Integrate EC and Temperature Monitoring
Accurate electrical conductivity and temperature readings are essential for interpreting acoustic data because nutrient uptake rates are temperature dependent. Install the LetPot EC & Temp Meter by submerging its multi‑layer electroplated probe in the main reservoir. The probe resists oxidation thanks to its nickel, silver, and gold layers, allowing continuous operation for up to 365 days without replacement. Use the built‑in screen or the companion app to set optimal EC (e.g., 1.2–1.8 mS/cm) and temperature ranges (e.g., 20‑24 °C) for the specific crop.
The device also includes a water‑shortage detection feature that sends push notifications when the reservoir level drops below a predefined threshold. This prevents the acoustic sensor from operating in dry conditions, which could produce misleading data.
Step 3: Configure Light and CO₂ Management
Light intensity and carbon dioxide concentration directly affect root respiration, which in turn influences acoustic patterns. The Mars Hydro Sensor Kit provides a PPFD (Photosynthetic Photon Flux Density) sensor and a CO₂ sensor that integrate with most smart controllers. Install the PPFD sensor near the canopy to capture real‑time photon flux and adjust LED output to maintain optimal PAR levels for each growth stage.
Connect the CO₂ sensor to a compatible CO₂ generator; the kit can automatically release gas when concentrations fall below the target range (e.g., 800‑1200 ppm). By stabilizing both light and CO₂, the acoustic signatures become more reliable and easier to interpret.
Step 4: Monitor pH and Nutrient Levels Continuously
Root health is highly sensitive to pH, total dissolved solids (TDS), and oxidation‑reduction potential (ORP). Deploy the EZTOCH 7-in-1 pH Monitor to obtain 24/7 readings of pH, EC, TDS, ORP, CF, humidity, and temperature from a single probe. The monitor stores data in the Tuya app, allowing you to view historical trends alongside acoustic recordings.
Set high and low alert thresholds in the app; for example, configure a pH alarm at 5.8‑6.2 for lettuce. When the system detects a deviation, it sends an instant notification so you can adjust nutrient dosing before the acoustic sensor records stress signals.
Step 5: Analyze Soil Moisture and Root Zone Data
Although hydroponics typically uses water‑based media, many growers incorporate coco coir or rockwool slabs that benefit from moisture monitoring. The Bluelab Pulse Soil Meter measures moisture, TDS, and temperature directly at the root zone and syncs the data to a smartphone via Bluetooth. Its adjustable depth gauge ensures consistent probe placement, which is critical for correlating moisture spikes with acoustic events.
For growers who already use an AC Infinity AI+ controller, the AC Infinity Soil Sensor Probe offers seamless integration. The probe reports saturation levels to the AI+ app, which can trigger automated watering cycles. By aligning moisture data with acoustic patterns, one can differentiate between genuine root hypoxia and simple drying of the medium.
Tips & Pro Tips
- Maintain a consistent water temperature (18‑22 °C) to reduce background acoustic noise caused by convection currents.
- Calibrate the LetPot EC & Temp Meter and the EZTOCH pH Monitor weekly using the supplied calibration solutions to ensure data accuracy.
- When using the Mars Hydro CO₂ sensor, verify that the sensor housing is free of dust; contaminants can shift the ±50 ppm accuracy range.
- Store historical data for at least three growth cycles; long‑term trend analysis improves the predictive power of acoustic diagnostics.
- Combine acoustic alerts with visual plant inspections; a sudden increase in vibration amplitude often precedes visible leaf yellowing.
Troubleshooting
Problem: Acoustic sensor reports constant high amplitude without plant stress.
Solution: Check for pump vibrations or air bubbles in the reservoir; isolate the sensor by temporarily disabling the pump and observe whether the signal stabilizes.
Problem: LetPot EC & Temp Meter displays erratic readings.
Solution: Ensure the probe is fully submerged and free of biofilm; clean with the supplied cleaning solution and re‑calibrate using the provided EC standard.
Problem: Mars Hydro PPFD sensor shows inaccurate light values.
Solution: Verify that the sensor is positioned perpendicular to the light source and that the RJ12 connections are secure; replace any damaged splitters.
Conclusion
This guide has outlined a systematic approach to integrating acoustic root zone diagnostics with conventional hydroponic monitoring tools. By installing acoustic sensors, coupling them with EC, temperature, light, CO₂, pH, and moisture measurements, growers can detect stress early and intervene with precision. The recommended products enhance data reliability, automate corrective actions, and simplify record‑keeping. Implementing these practices will lead to healthier roots, stronger yields, and a more scientifically informed growing operation.
Products Mentioned in This Guide
Frequently Asked Questions
What is acoustic root zone diagnostics and how does it work in hydroponics?
It uses sound waves to detect changes in root zone density and composition, revealing nutrient deficiencies, water stress, or disease before visual symptoms appear.
Which sensors are essential for combining acoustic diagnostics with traditional measurements?
You need an EC & Temp meter, a multi‑parameter sensor kit, a pH monitor, and optionally a pulse soil meter to complement acoustic data.
How often should I perform acoustic scans on my hydroponic system?
Conduct scans at least once per day or before major nutrient adjustments to catch early issues.
Can acoustic diagnostics replace EC, pH, and temperature monitoring?
No, it supplements them by providing root‑zone insights, while EC, pH, and temperature remain critical for solution management.
What are the main benefits of using acoustic root zone diagnostics?
Faster detection of problems, improved plant health, higher yields, and reduced waste of nutrients and water.